How to Remove a Background in GIMP: 5 Methods + a Faster AI Option
Remove a background in GIMP with Fuzzy Select, Select by Color, Color to Alpha, Foreground Select, or a Paths mask—and export a transparent PNG.
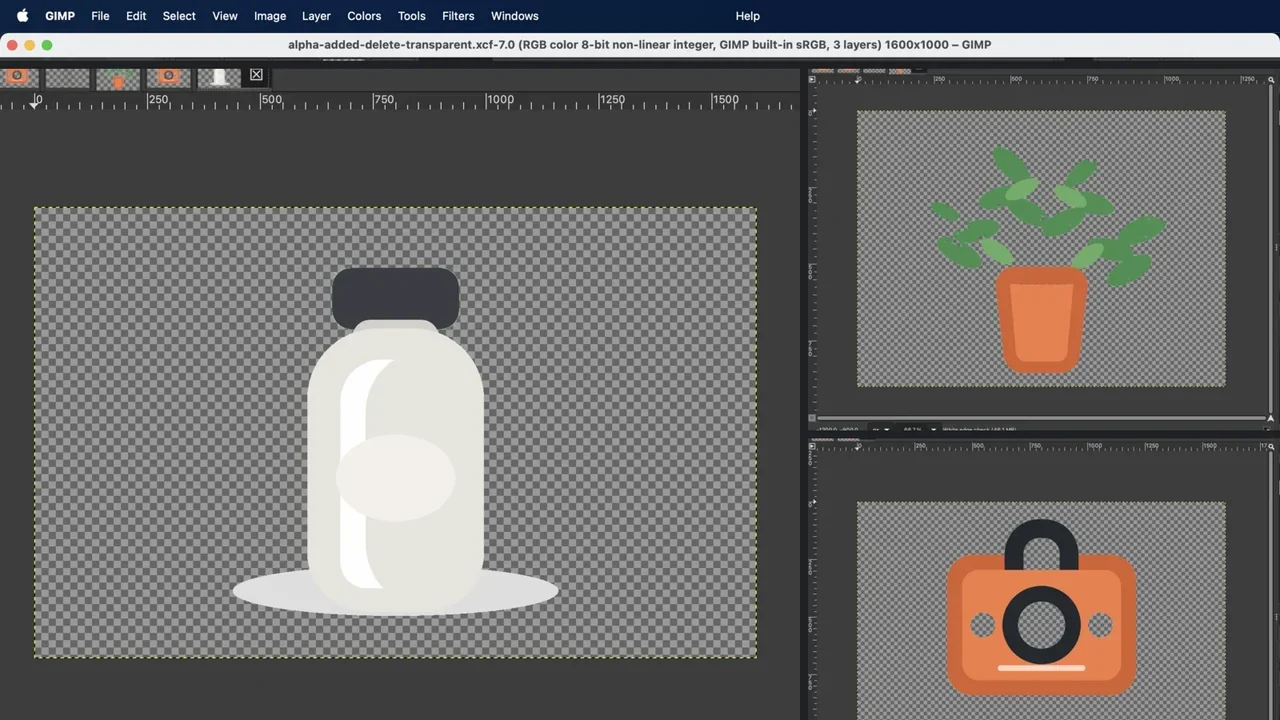
To remove a background in GIMP and keep it transparent:
- Open the image, then choose
Layer → Transparency → Add Alpha Channel. - Select the background with the method that fits the image: Fuzzy Select for one connected area, Select by Color for separated areas, Color to Alpha for a simple color, Foreground Select for complex edges, or a path and mask for precise hard edges.
- Remove or mask the selection, then inspect the edge over black, white, and GIMP's checkerboard.
- Export as PNG. JPEG cannot retain transparent pixels.
Those four steps are the short version. Step 2 needs the most care. A selection that works neatly on a flat studio background may fail on hair, holes inside an object, or a white product with white highlights.
Which GIMP method fits your image?
| Image type | Method to try | Why |
|---|---|---|
| One connected, nearly solid background | Fuzzy Select | It grows a selection outward from the clicked area. |
| The same background color appears in separate corners or internal holes | Select by Color | It finds similar pixels even when they do not touch. |
| A white or single-color background with soft antialiased edges | Color to Alpha | It converts the chosen color's contribution into transparency, but can also thin similar colors in the subject. |
| Hair, fur, leaves, or an uneven background | Foreground Select | You mark the subject and let GIMP estimate the foreground; refinement is usually iterative. |
| A logo, product, or other clean hard-edged subject | Paths + Layer Mask | Editable curves and a mask give deliberate control without deleting the original pixels. |
| You want fewer manual selection and edge-repair steps | Our AI background remover | It segments the main subject on our server. Uploads cost one credit per image, so it is a separate workflow rather than a GIMP feature. |
Try the AI background remover when you would rather skip manual selection and refinement.
The instructions below were reproduced in the English interface of GIMP 3.2.4 on Apple Silicon macOS. At the time of testing, 3.2.4 was the stable build listed on the official GIMP downloads page. GIMP labels its online 3.2 manual as a work in progress, so the menu wording here follows the tested application where the manual and current interface differ. The example thresholds and strokes are starting points for the pictured files, not presets for every photo.
Method 1: Fuzzy Select for one connected background
Use Fuzzy Select when the background is fairly uniform and forms one connected region around the subject. The tool selects neighboring pixels that resemble the point you click; GIMP's Fuzzy Select documentation calls this contiguous selection and explains how Threshold widens or narrows the accepted color range.
- Add an alpha channel with
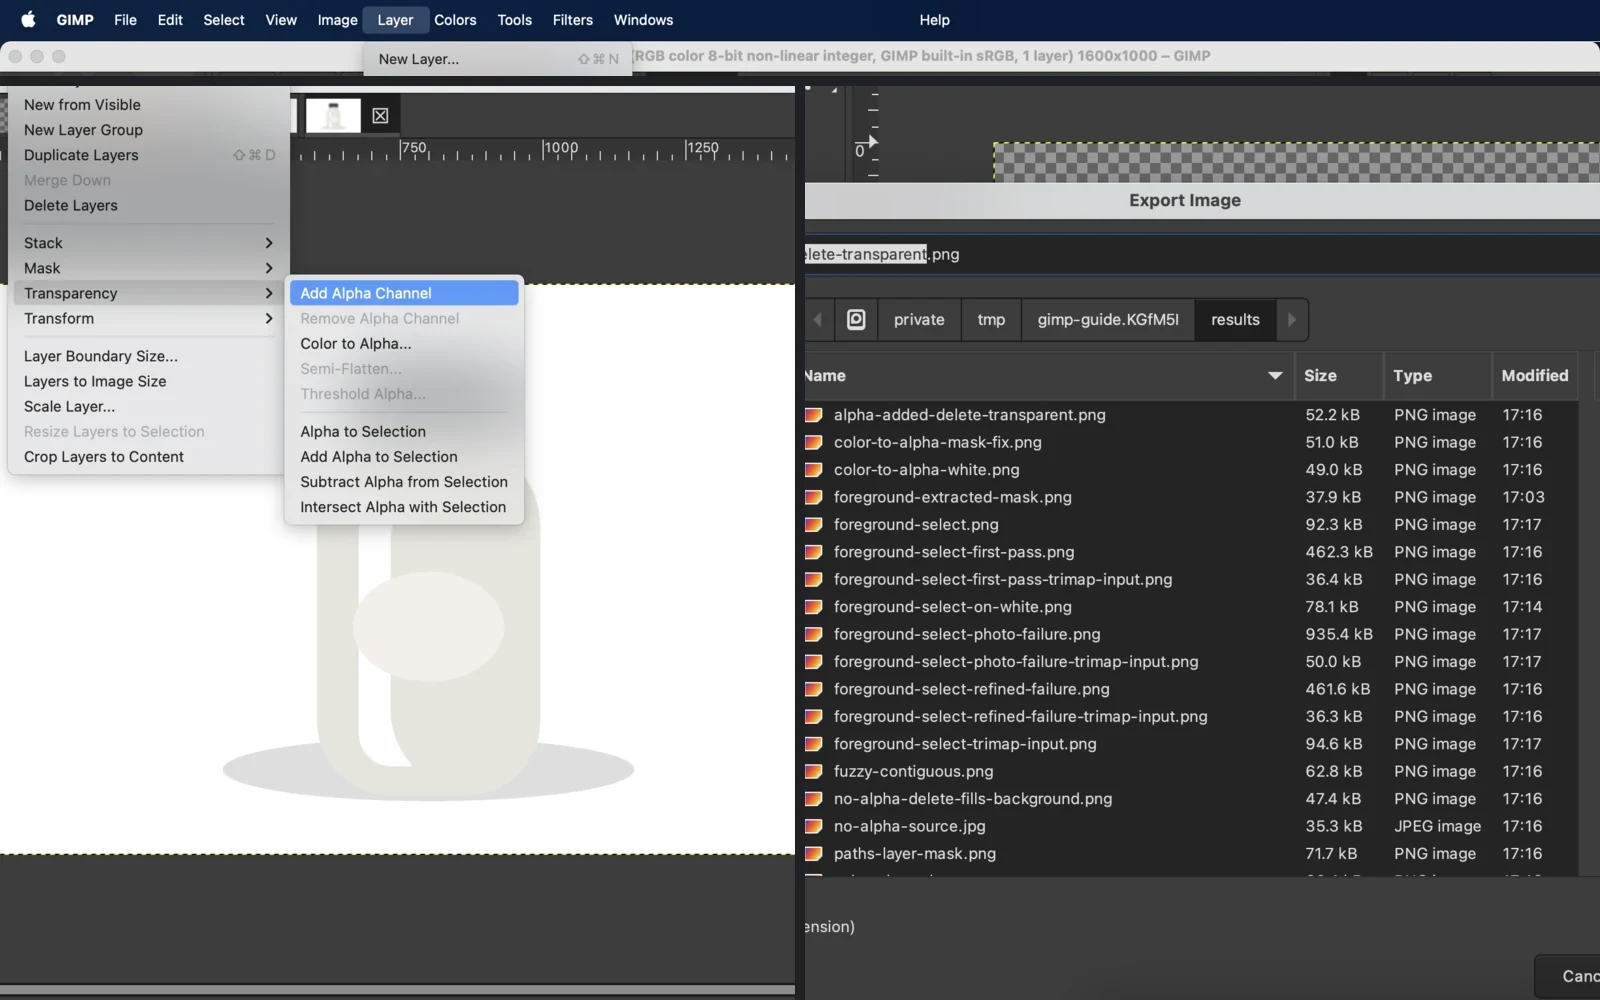
Layer → Transparency → Add Alpha Channel. - Choose
Tools → Selection Tools → Fuzzy Select, or pressU. - Click the background. In our controlled pale-blue example, a Threshold of
15selected the connected exterior without selecting the orange subject. - Inspect the moving selection boundary. Hold
Shiftand click any missed background areas, or switch methods if there are many disconnected areas. - Press
Delete, then clear the selection withSelect → None.
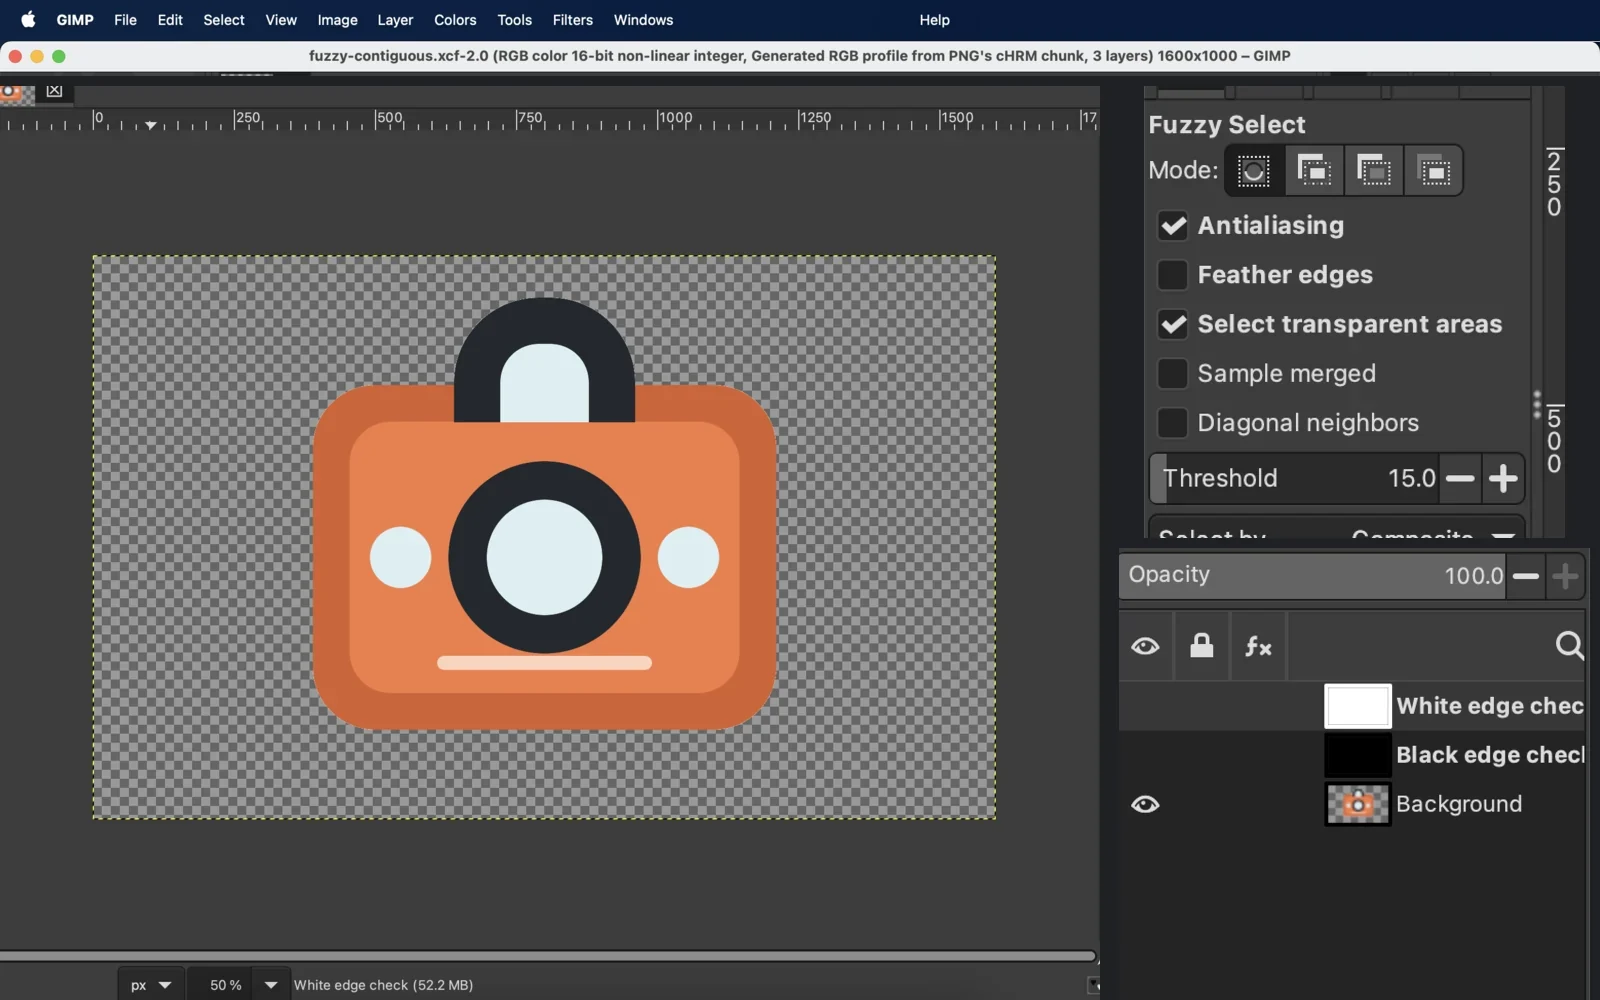
After deletion, look for pockets that still contain the old background while the exterior shows checkerboard. You can add each pocket to the selection. If the same color appears in many separate places, Select by Color is less repetitive.
Method 2: Select by Color for separated areas and holes
Select by Color is useful when one background color appears in several unconnected regions. Unlike Fuzzy Select, it checks similar pixels across the whole layer. The official Select by Color guide documents the Shift+O shortcut and the same Threshold concept.
- Add an alpha channel.
- Choose
Tools → Selection Tools → By Color Select, or pressShift+O. - Click the background color and adjust Threshold while watching the subject as well as the background.
- Subtract any subject area that was selected accidentally, then press
Delete. - Zoom in around internal openings and the outer edge before clearing the selection.
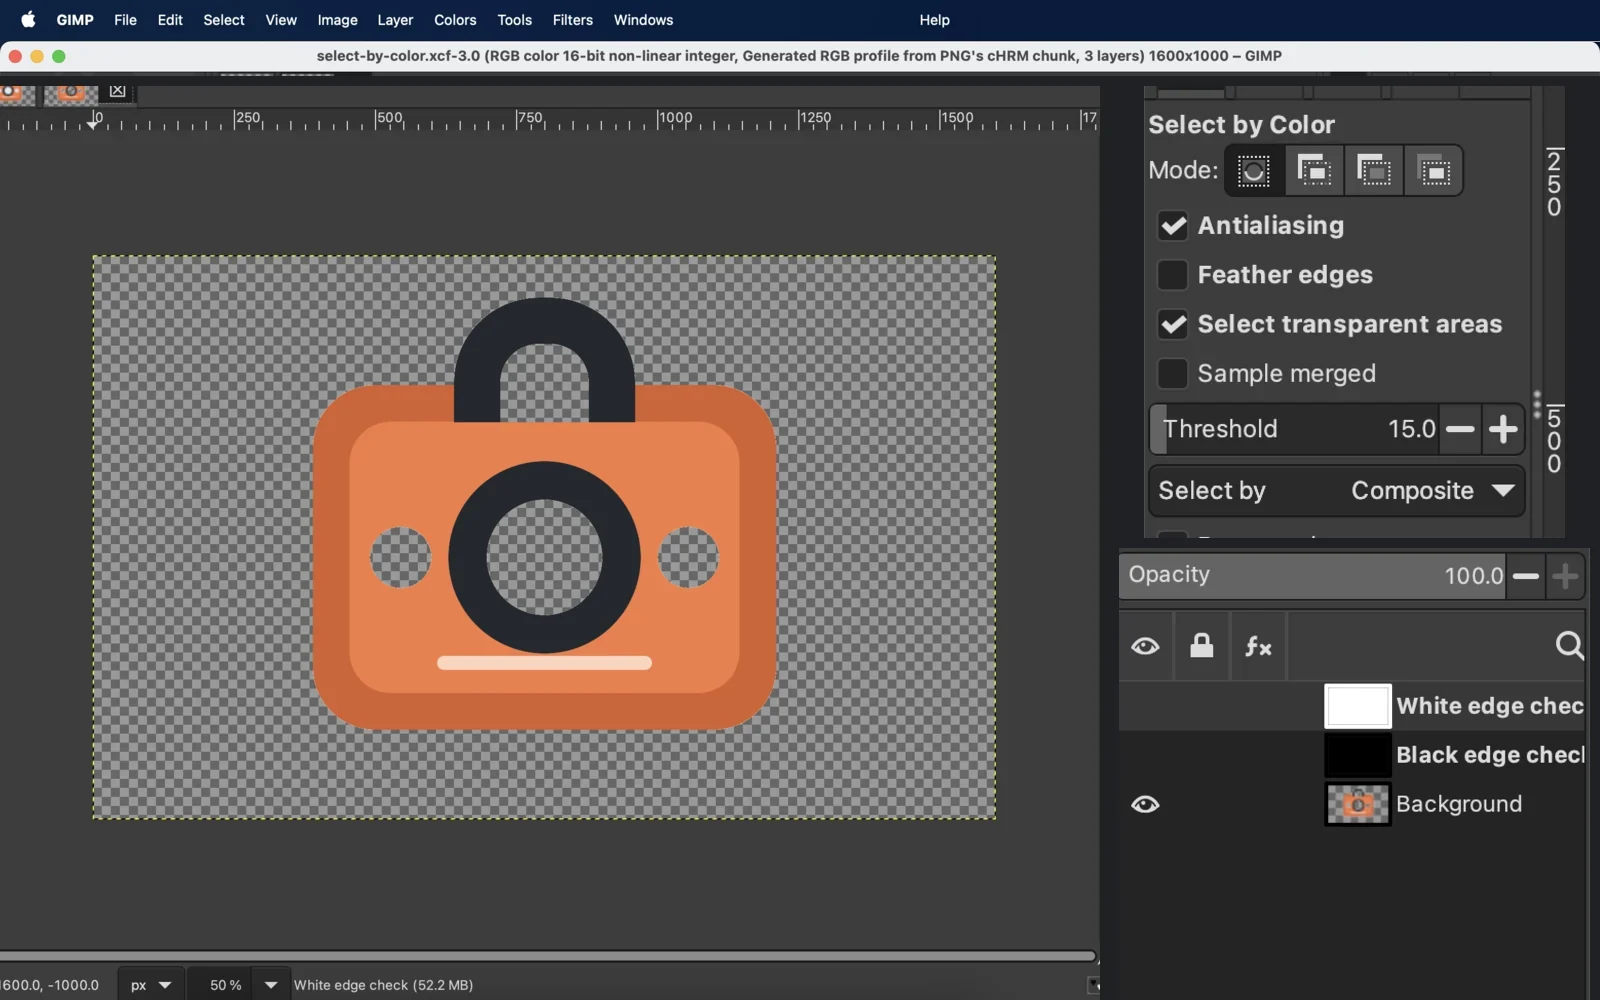
Because the tool searches the whole layer, it may also catch a subject pixel close to the background color. Lower the threshold, subtract that area from the selection, or move to a path and mask when the boundary must be exact.
Method 3: Color to Alpha for white or a simple color
Color to Alpha does more than delete exactly white pixels. It makes pixels progressively transparent according to how much of the chosen color they contain. That can preserve an antialiased transition, but it can also make a white highlight, pale object, or light shadow partly transparent. GIMP's Color to Alpha explanation demonstrates this effect on a gray object over white.
- Add an alpha channel.
- In GIMP 3.2.4, choose
Colors → Color to Alpha…, then select the background color. The manual also documentsLayer → Transparency → Color to Alpha…as a route to the command. - Preview the subject's light areas, not only the backdrop.
- Confirm the change if the subject remains intact. Otherwise undo it, select only the background region, and constrain the effect with that selection or a layer mask.
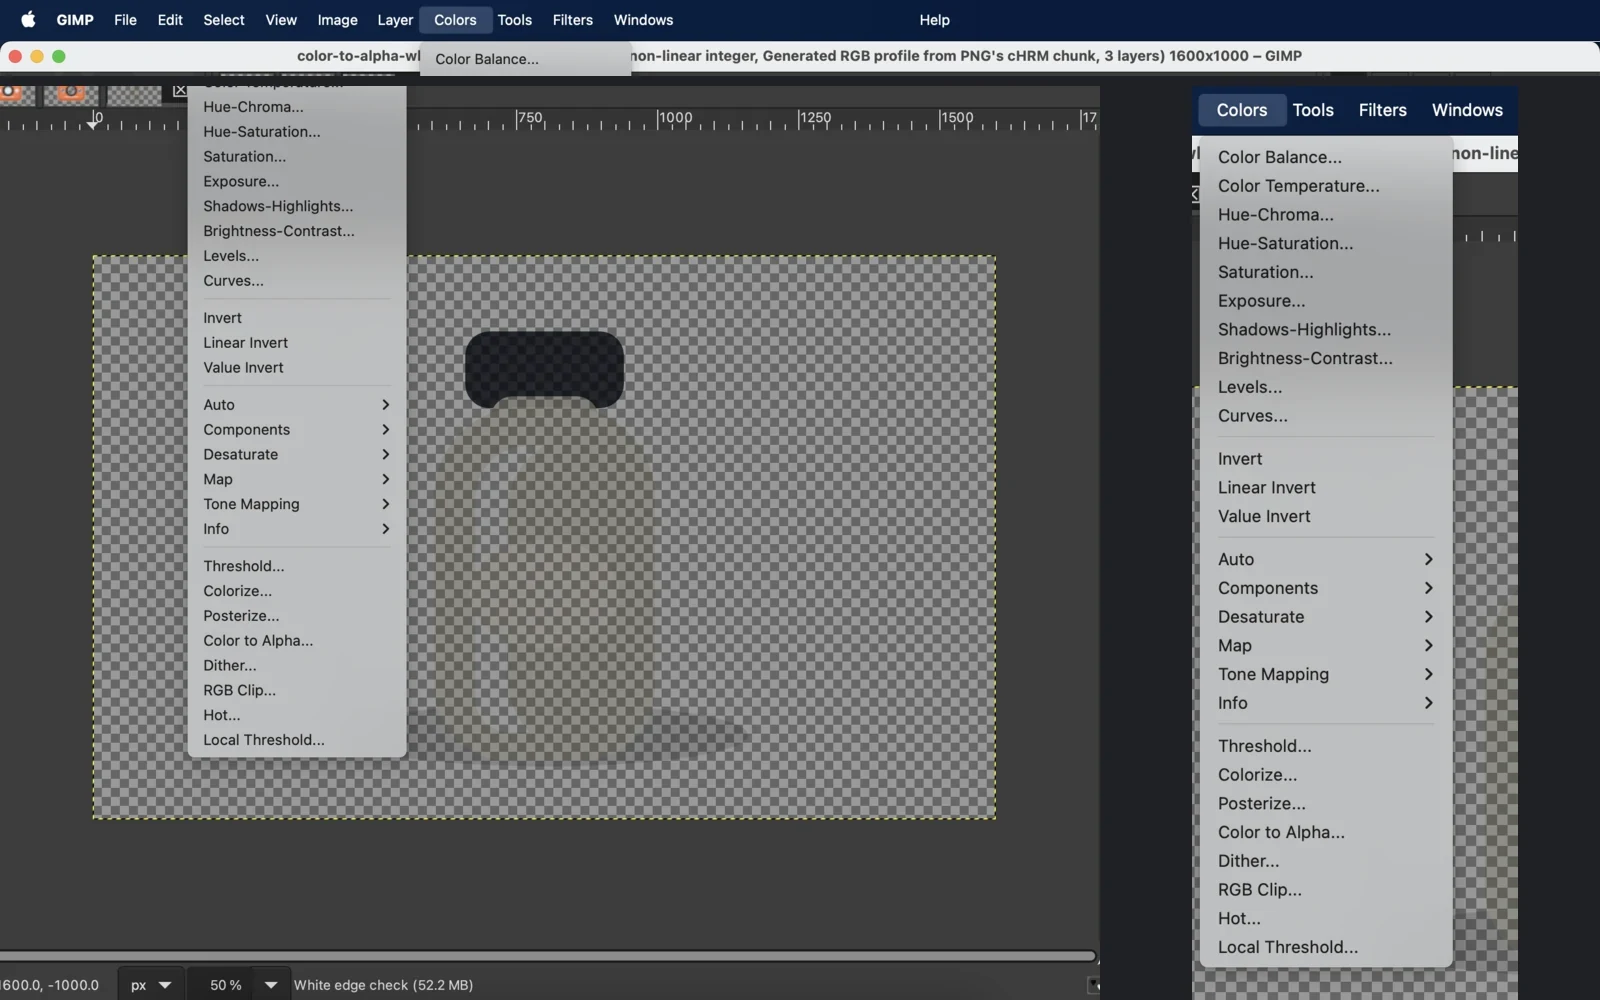
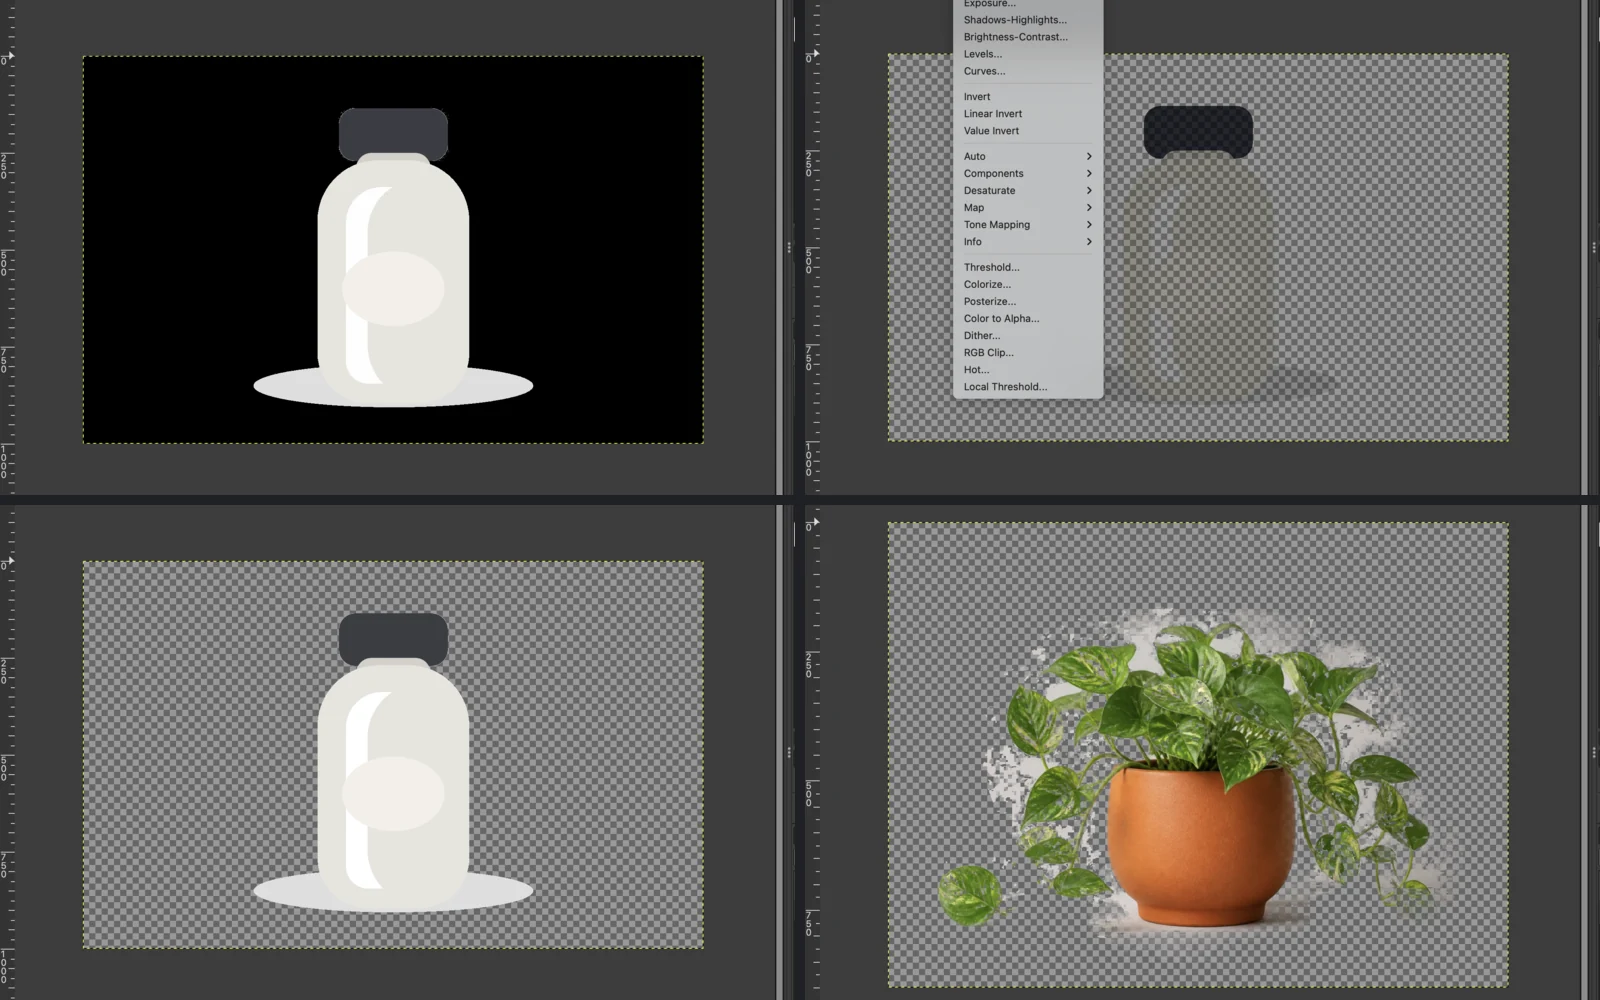
For our controlled white-background image, removing #ffffff made the background transparent, but a pure-white highlight became almost fully transparent and the pale body was only partly opaque. Restricting the operation with a mask preserved those subject areas. The measurements belong to this test image. The practical warning applies more widely: do not run Color to Alpha across the whole layer when the subject needs to keep the chosen color.
Method 4: Foreground Select for hair, fur, and foliage
Foreground Select is designed for boundaries that are inconvenient to trace or select by color. You draw a rough outline around the subject, confirm it, and paint strokes over known foreground pixels. GIMP then estimates the selection. The Foreground Select manual describes the outline, foreground marking, preview, and final Select stages, as well as the resource-versus-quality choices in its engine settings.
- Choose
Tools → Selection Tools → Foreground Select. - Draw a loose loop around the subject. Keep all wanted detail inside the loop, then press
Enter. - Paint over representative foreground areas without crossing the edge. Include different colors and textures in the subject.
- Preview the mask. Add foreground, background, or unknown strokes where leaves, hair, gaps, or backdrop were classified incorrectly.
- Choose
Select, add an alpha channel if needed, then convert the selection to a layer mask or remove the background.
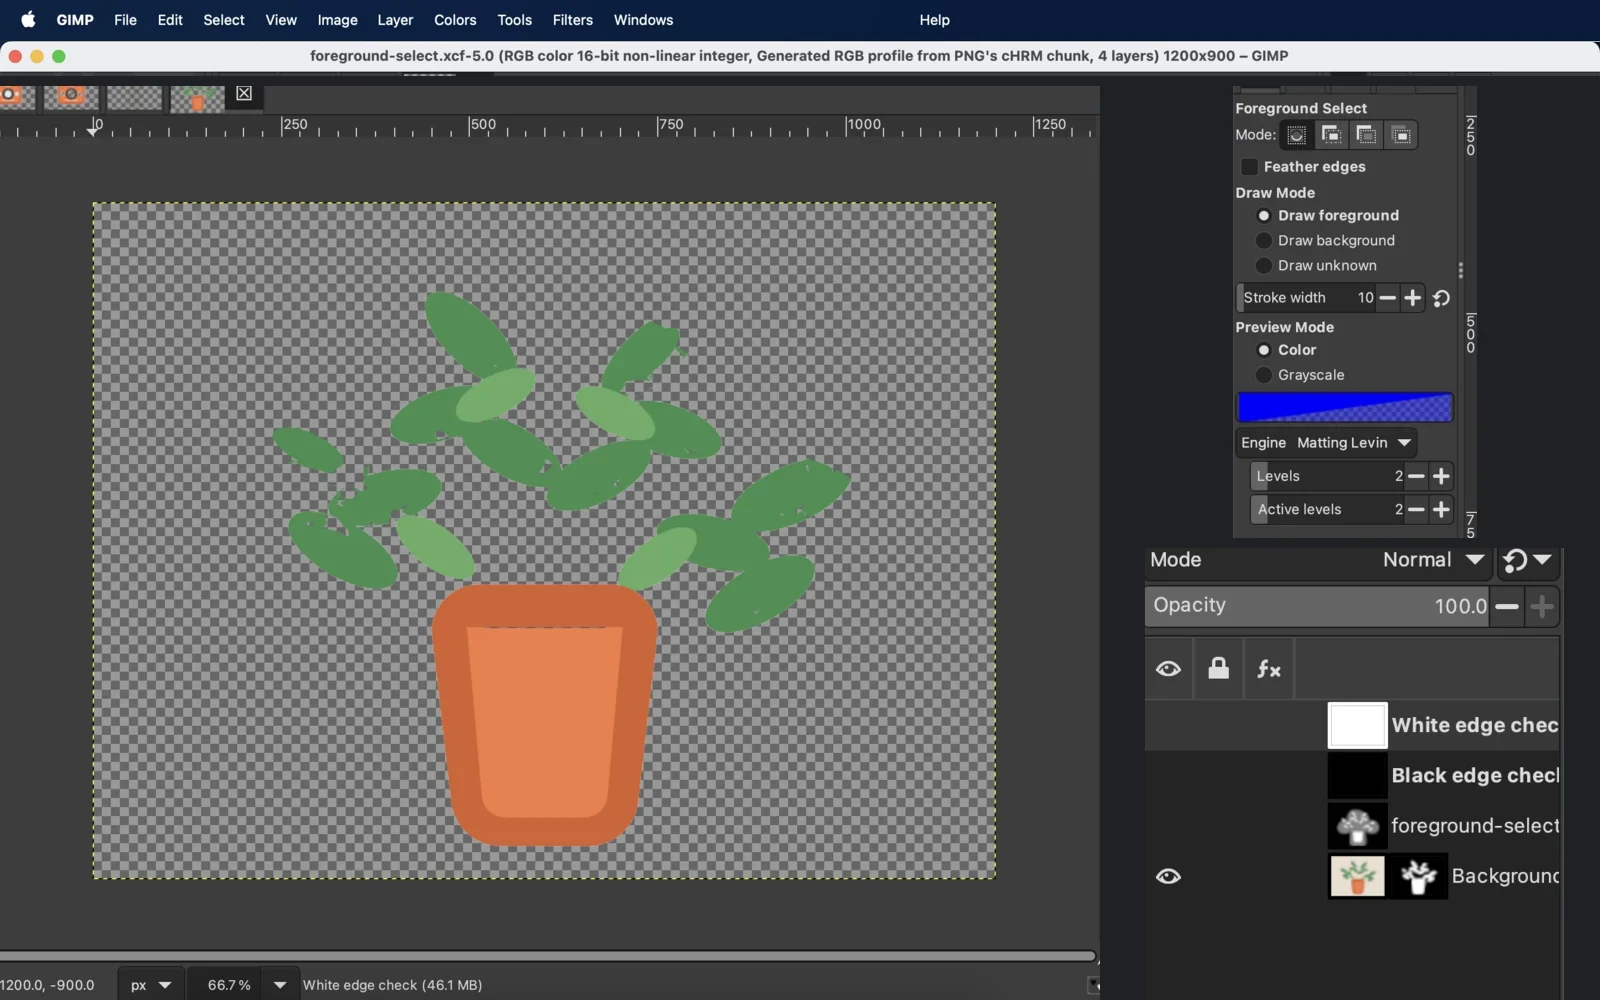
In our successful foliage test, the background and an interior gap were transparent while sampled leaf and pot pixels stayed opaque. On two photographic-style inputs, early passes either retained color spill or removed subject detail. Use the first preview to find weak areas, add more informative strokes, and repair small misses on a layer mask. One pass may not settle every strand or leaf.
Method 5: Paths + Layer Mask for precise hard edges
For a logo, package, vehicle, or product with a defined outline, an editable path can be slower to set up but easier to correct. GIMP's Paths tool creates Bézier curves and converts them to selections. A layer mask then controls which pixels are opaque, partly transparent, or transparent without erasing the source layer.
- Choose
Tools → Paths, or pressB. - Place a small number of nodes along the subject. Drag the handles to follow curves, and edit nodes until the path sits on the intended edge.
- Close the path. In the Paths dock, convert it to a selection.
- Choose
Layer → Mask → Add Layer Masks…, initialize the mask from the selection, and add it. - Paint white on the mask to restore the subject, black to hide background, and gray for partial transparency. Refine the mask while viewing the image over contrasting colors.
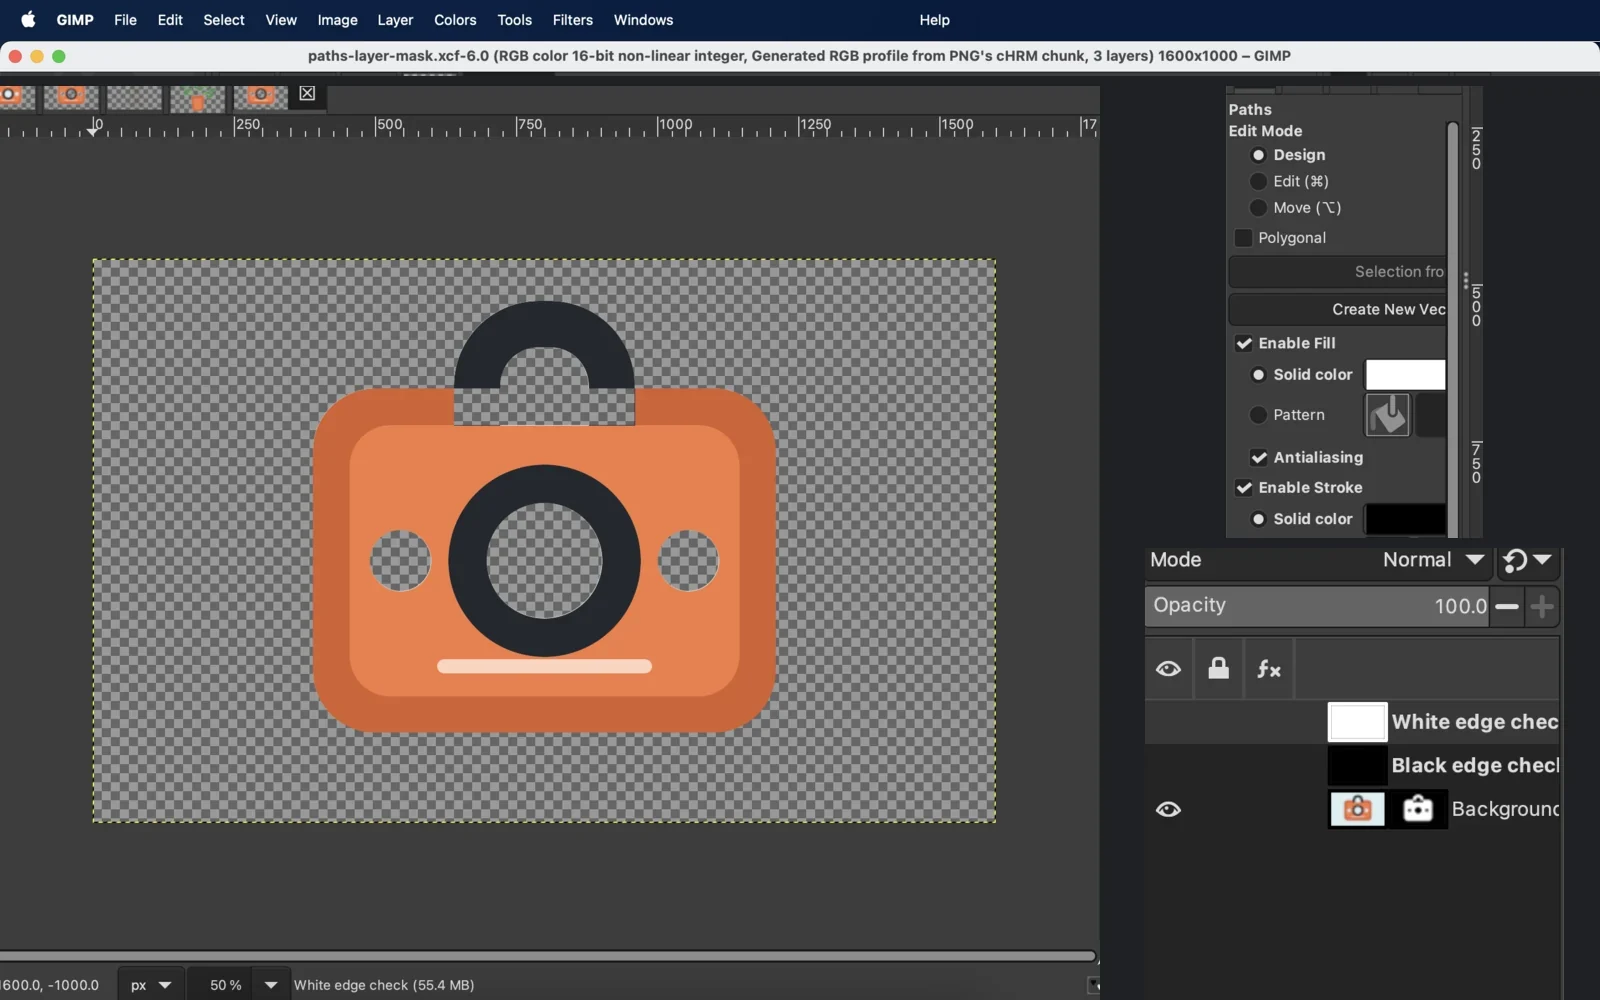
A coarse path produces corners or visibly mechanical curves. Adjust nodes and handles, reconvert the path, and continue on the mask. Do not keep deleting and rebuilding the layer: the editable path and mask are the reason to choose this workflow.
Add an alpha channel before removing pixels
An alpha channel stores opacity. Without one, Delete cannot create transparent pixels on that layer and may replace the selection with a solid color instead. GIMP documents the command at Layer → Transparency → Add Alpha Channel.
If the menu item is disabled, the layer already has alpha. If it is available, add alpha before deleting the background. A checkerboard after deletion indicates transparency in GIMP's canvas; it is not part of the exported picture.
Refine the edge before export
Checkerboard alone can hide edge problems. Put temporary solid-color layers below the cutout and alternate among:
- Black, which exposes pale halos and partly transparent light pixels.
- White, which exposes dark outlines and retained color spill.
- Checkerboard, which makes leftover islands and internal holes easier to notice.
Work on a layer mask where possible. Black hides, white reveals, and gray creates partial opacity, so a mistaken brush stroke can be reversed. Check the outer silhouette and enclosed spaces at high zoom, then check again at the size where the image will actually be used.
Export a transparent PNG from GIMP
- Keep the checkerboard visible where the background should be absent.
- Choose
File → Export As…and use a filename ending in.png. - In PNG export options, keep an alpha-capable color format. Indexed PNG8 has only binary transparency, so it is not suitable when soft partial-alpha edges must be preserved.
- Export, reopen the PNG, and place it over a different background to verify the result.
GIMP's transparency guide explains why the image needs an alpha channel, and its PNG export reference distinguishes formats with and without alpha. Do not export the final transparent asset as JPEG: GIMP's export troubleshooting guide notes that JPEG does not support transparency and fills transparent areas with the background color.
Troubleshooting common GIMP background-removal problems
| What you see | Likely cause | What to do |
|---|---|---|
| Delete produces black, white, or another solid fill | The active layer has no alpha channel | Undo, choose Layer → Transparency → Add Alpha Channel, then remove or mask the selection again. |
| White highlights or a pale subject turn translucent | Color to Alpha was applied to subject pixels that contain the chosen color | Undo and limit the command with a background selection or mask; restore the subject in the mask. |
| Holes inside the subject still show the old background | Fuzzy Select only reached the connected exterior | Add the holes to the selection or use Select by Color when their color matches the exterior. |
| Hair, fur, or leaves disappear | Foreground Select did not receive enough representative foreground marks | Add foreground/unknown strokes, preview again, then repair small misses on a mask. |
| A pale or colored fringe appears on a new background | Antialiased edge pixels still contain color from the old background, or the selection stopped too early | Inspect over black and white; refine the mask at the edge. Color to Alpha may help on a simple background if it does not damage the subject. |
| Tiny background islands remain | The selection missed disconnected or low-contrast pixels | Inspect at high zoom over solid colors and clean the mask rather than repeatedly erasing the layer. |
| The exported image has a background again | It was exported as JPEG, or the chosen PNG mode did not retain the needed alpha | Export PNG with alpha and reopen the exported file for a final check. |
GIMP or an AI background remover?
GIMP keeps the editing workflow on your computer and gives you direct control over selections, paths, masks, and every repair stroke. Use it when a precise edge matters, when the image should stay local, or when you want an editable mask that can be revised later. Difficult edges may need several previews, strokes, and mask corrections.
Our AI background remover is a service operated by this site. It uploads the image to our server, uses one credit for each processed image, and returns an automatically segmented subject. You can skip the initial selection and mask-building steps, but the result still depends on the image and needs inspection around fine detail. The service is not part of GIMP and does not run offline.
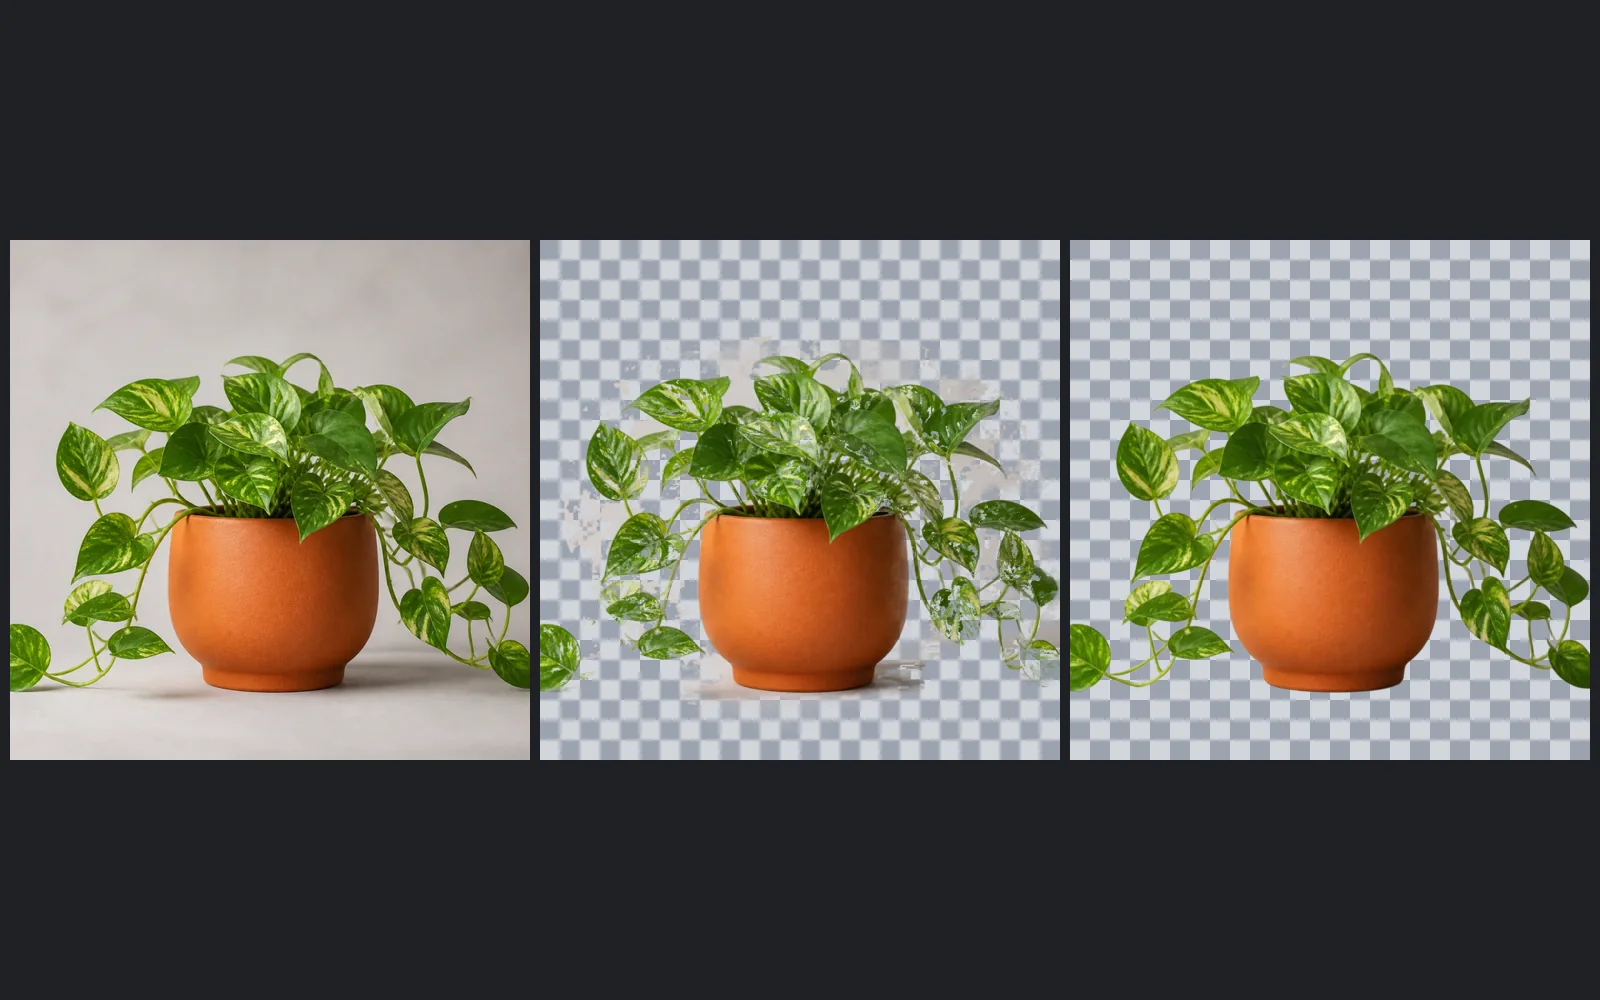
Choose GIMP when local editing, a recoverable mask, or exact manual control is the priority. Choose the site workflow when you accept a server upload and one-credit charge in exchange for fewer manual selection steps. Whichever route you use, inspect the output on contrasting backgrounds before publishing it.
Upload an image to our AI workspace and compare the cutout with your GIMP result.